


")


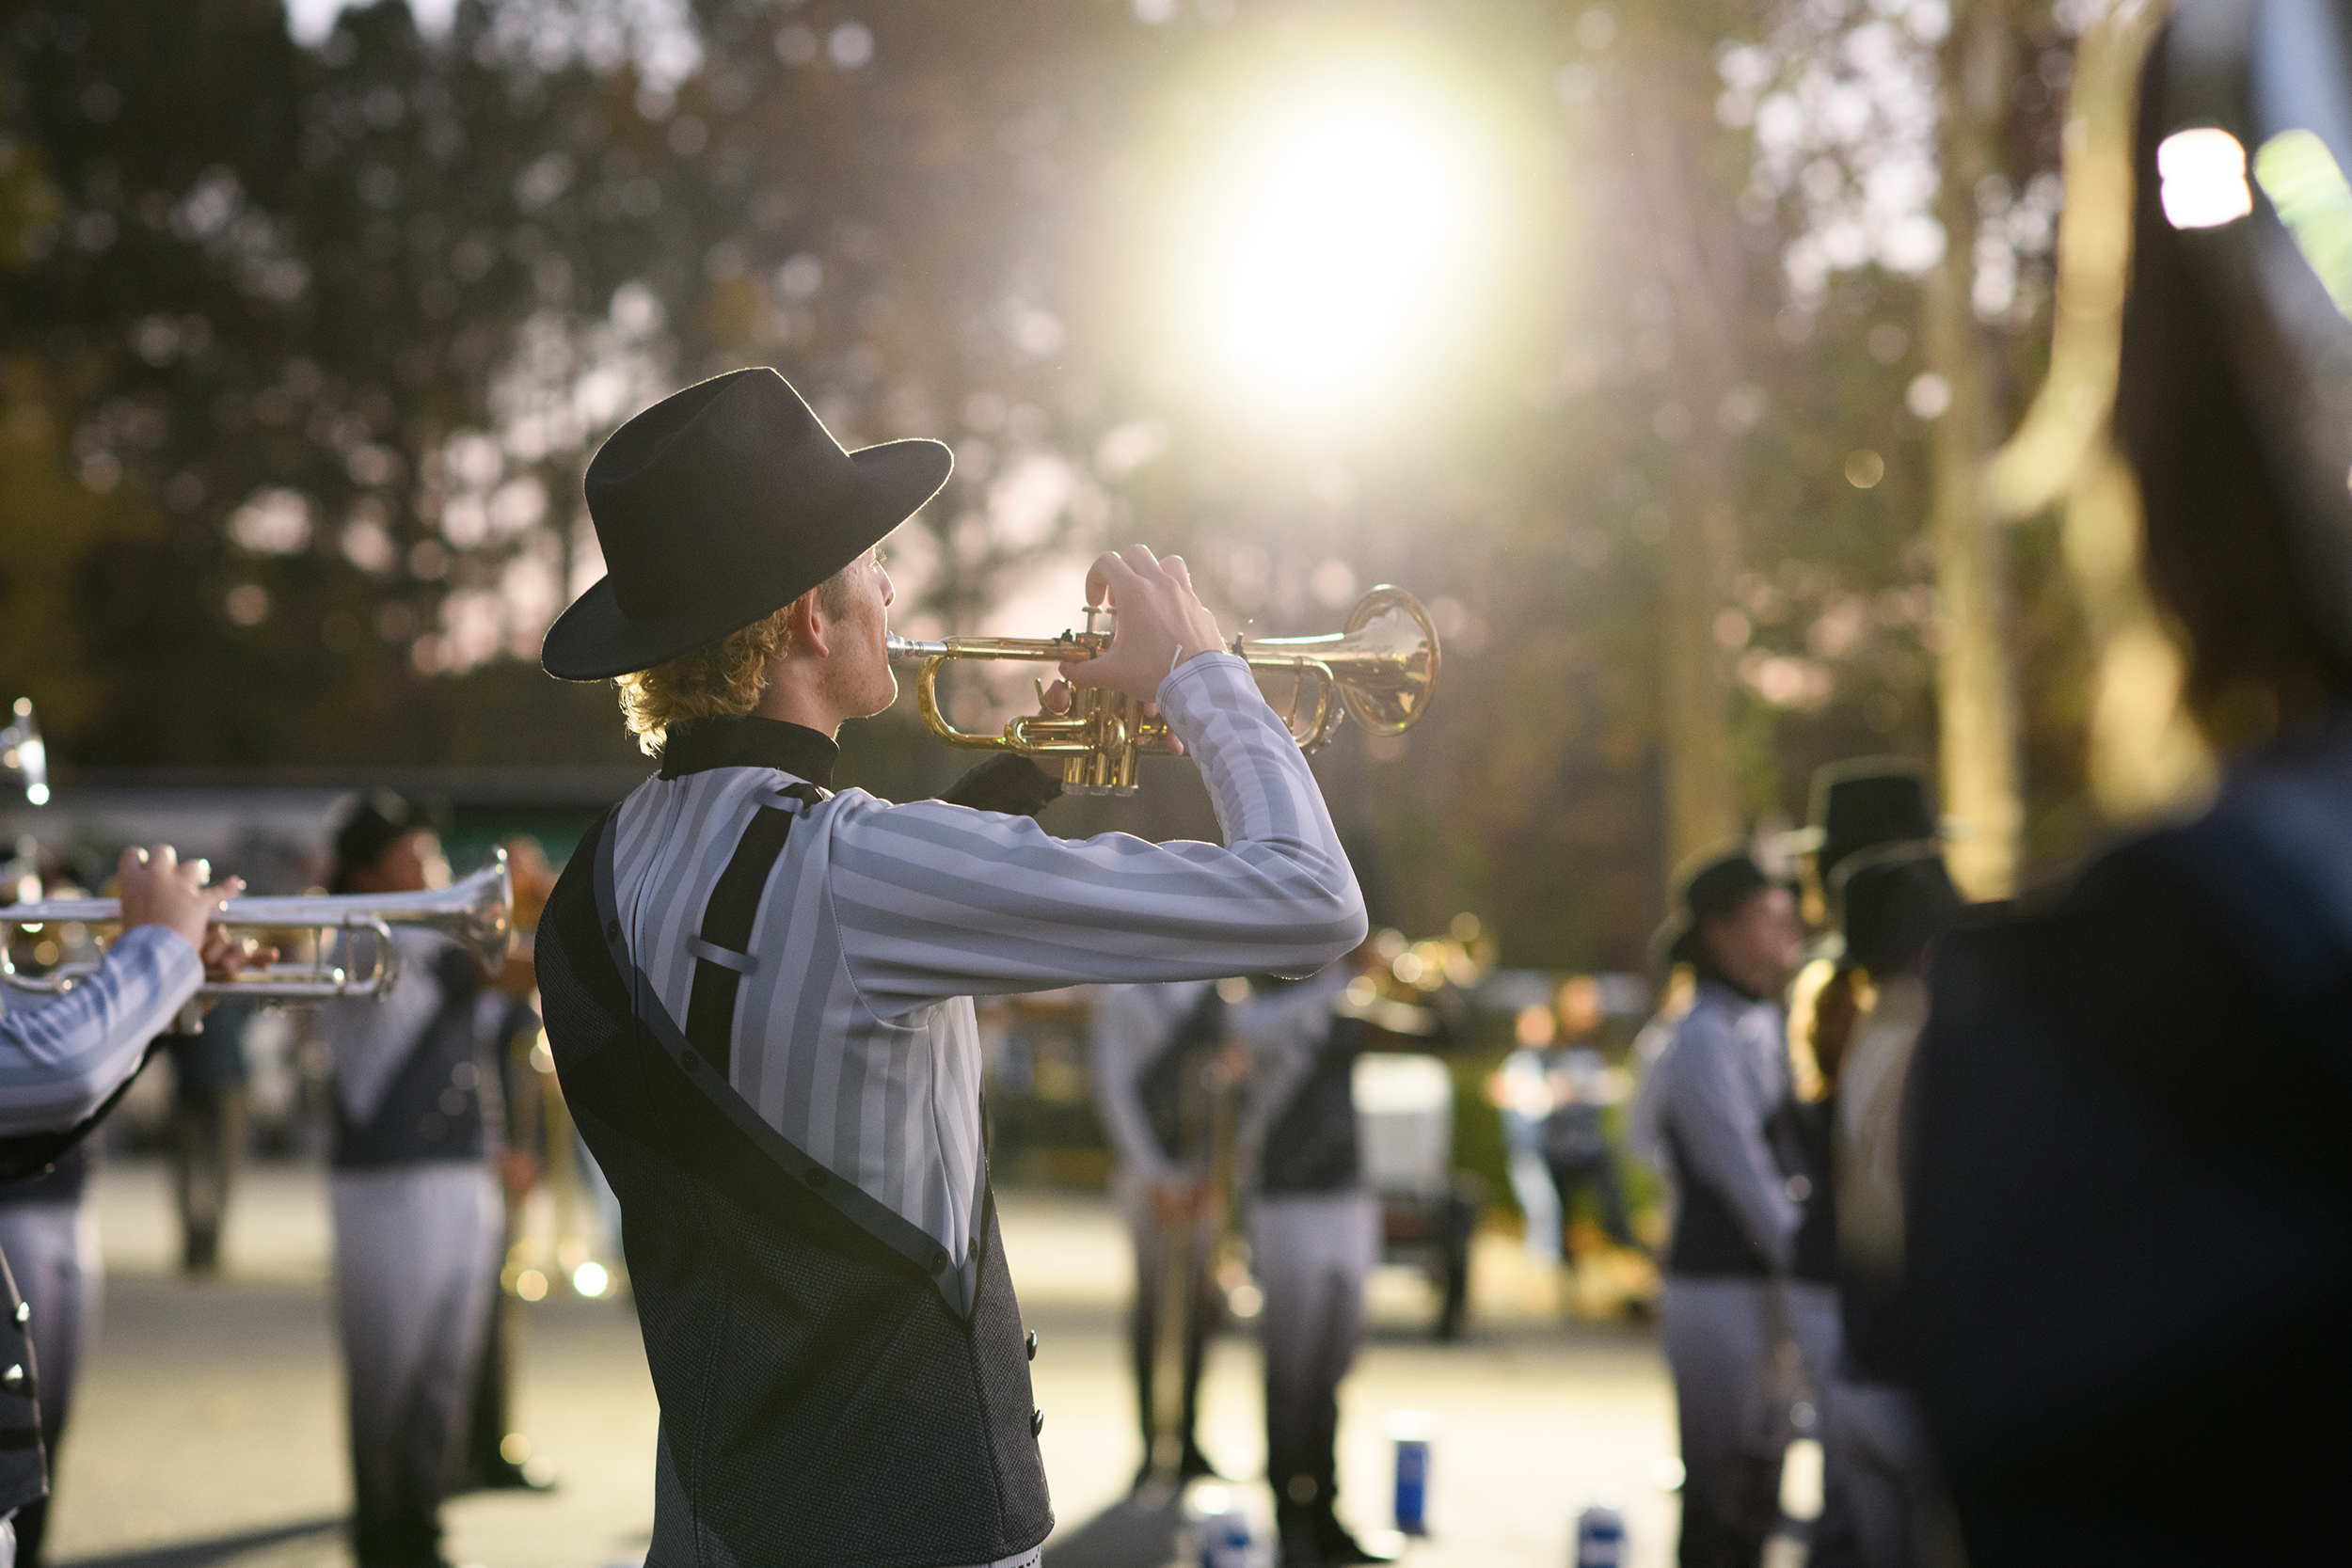
Most often when we think of backlit photos we think of sunset, right? Have you ever thought of taking a backlit photo at night? You’ll do it much the same as you would a golden hour photo. The only thing you’ll need to look a little harder for is the light. Let’s talk about how to take a backlit photo at night. By the way, these tips work for DSLR, mirrorless or your phone’s camera.
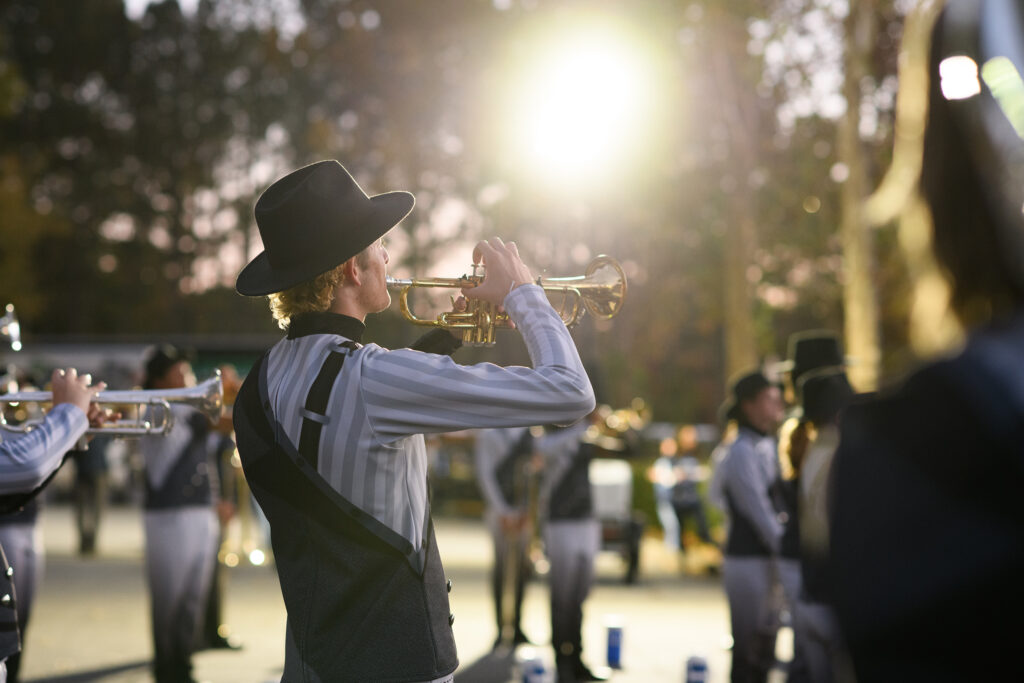
Of course, I could have used a speedlight here; however, I’d been following the band around ALL DAY at this competition and I just didn’t want to lug one more thing along. Instead, as the sun went down, I started looking for other ways to light my subjects. All of these photos were taken at 9:45 pm. Well after sunset.
Here is a pullback of the lighting situation.
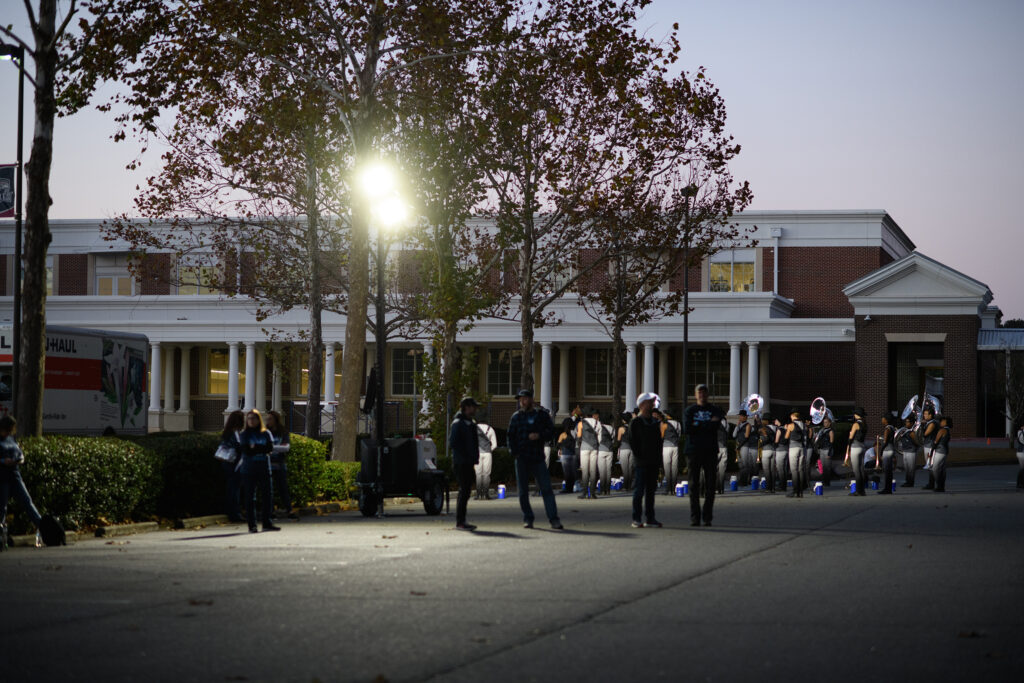
1. Look around.
In this case, my lighting is obviously going to be the parking lot lights. You can also use car headlights or maybe even a lantern or flashlight held by a friend.
2. Know how that light is falling and adjust yourself.
The lights here, one in each corner of the parking lot, were casting weird shadows on their faces. Of course, I couldn’t tell them to move around so I did the moving. Photographing them from the back eliminated any odd shadows on their faces.
3. Expose for the skin.
Adjust your exposure for the skin and let the rest of the light do what it wants to. My settings for the photo below were:
ISO 1250
f 2.2
SS 160 (this should be higher, but he was awaiting instruction and wasn’t moving at the time so it’s okay.)
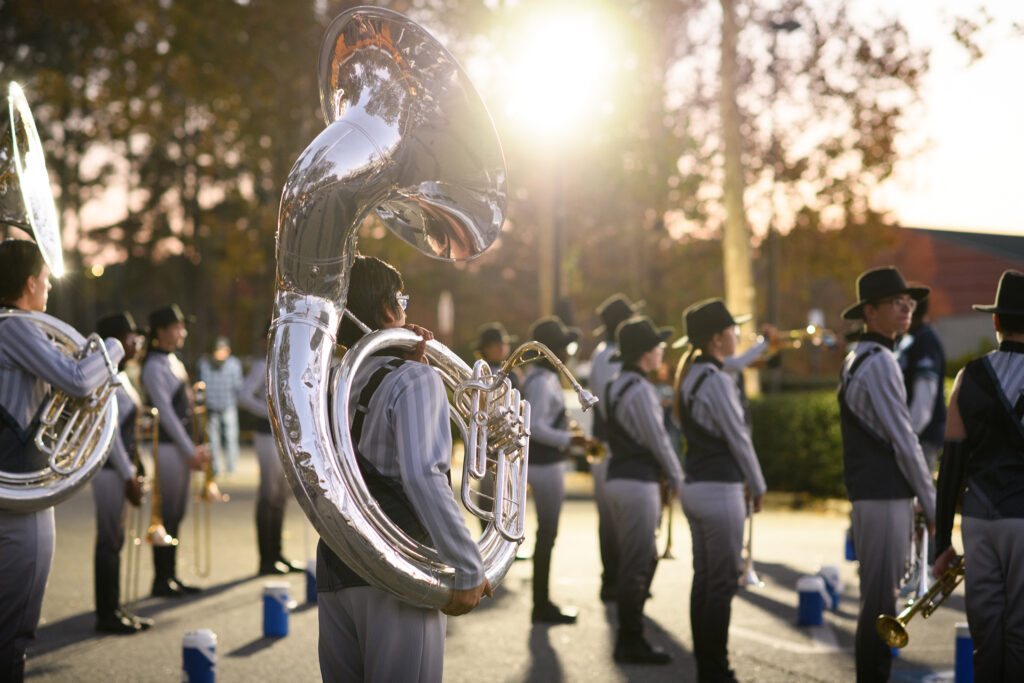
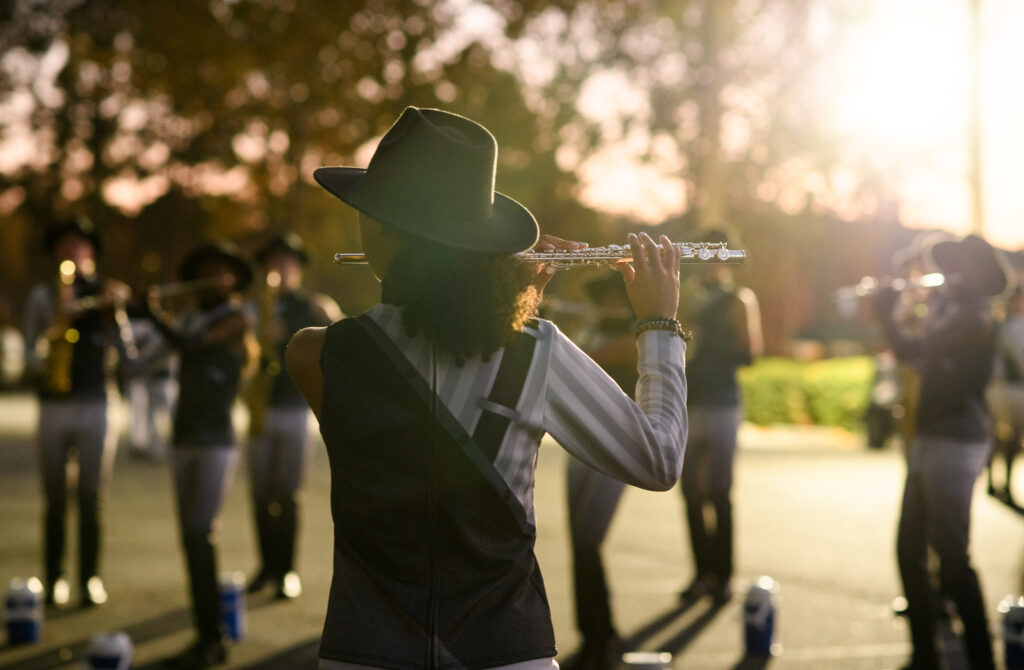
4. Shoot with a wide aperture.
Since I was photographing them at night, I needed to get as much light as I could. Having a wide aperture at 2.2 or lower really helped me out. In this case, I set my aperture first, checked my shutter speed and then raised my ISO as needed.
Settings:
ISO 1250
f 2.2
SS 200
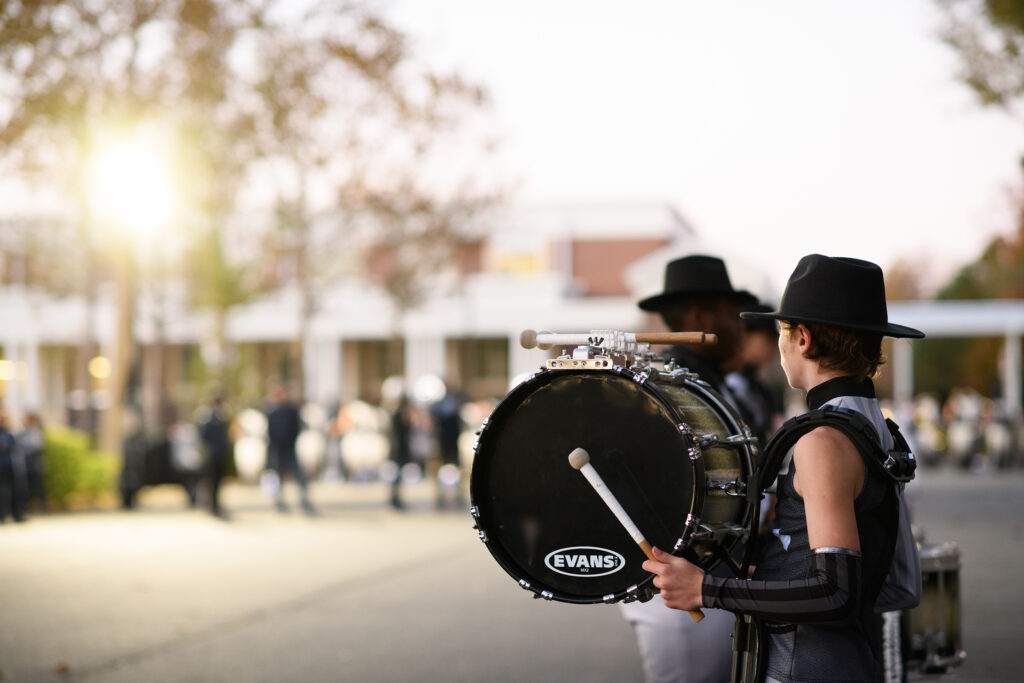
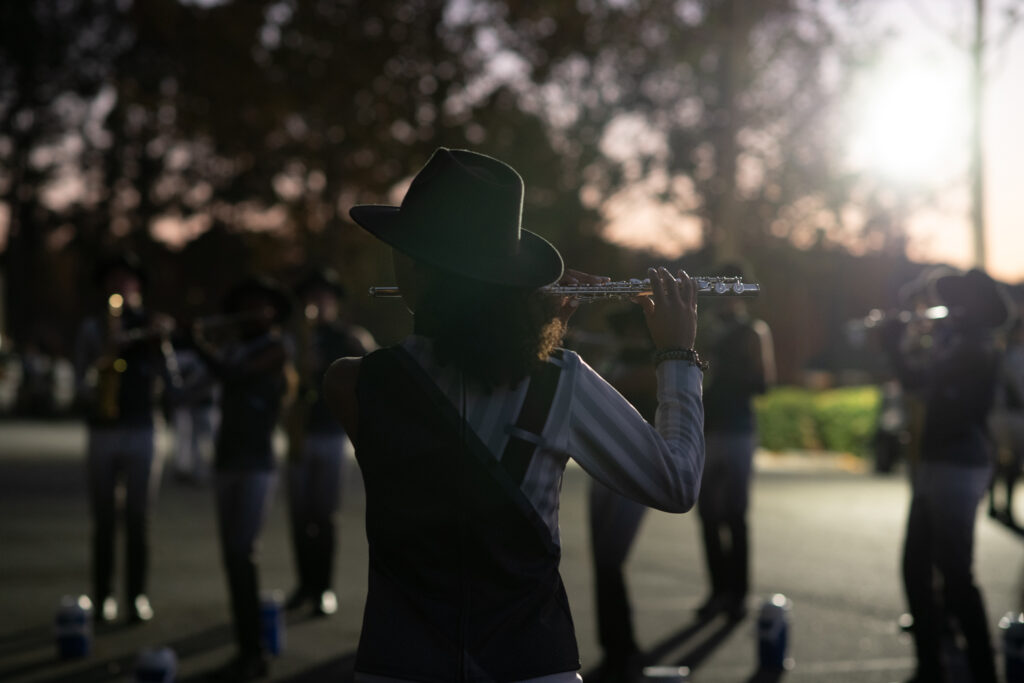
5. Know how to edit.
Most likely, you’ll need to adjust exposure in post. As you can see for the flute photo, I underexposed a bit too much. I use Lightroom and was able to easily adjust the exposure, shadows and temperature. You’ll need to shoot in RAW in order to successfully edit in situations like this one.
Settings:
ISO 1250
f 2.8
SS 125
I hope this post has encouraged you to take backlit photos at night. So just remember, backlit photos aren’t about sunset. They’re about backlighting and that can be with any light that’s around you. Just keep in mind how the light falls on your subject and make adjustments. Also, remember your settings and to expose for the skin. Your knowledge of editing will come in handy, too.


Thanks for the helpful info! I can’t wait to try this out!