Hi y’all!
I just thought I’d share a quick little before and after of Caroline “soccering”.
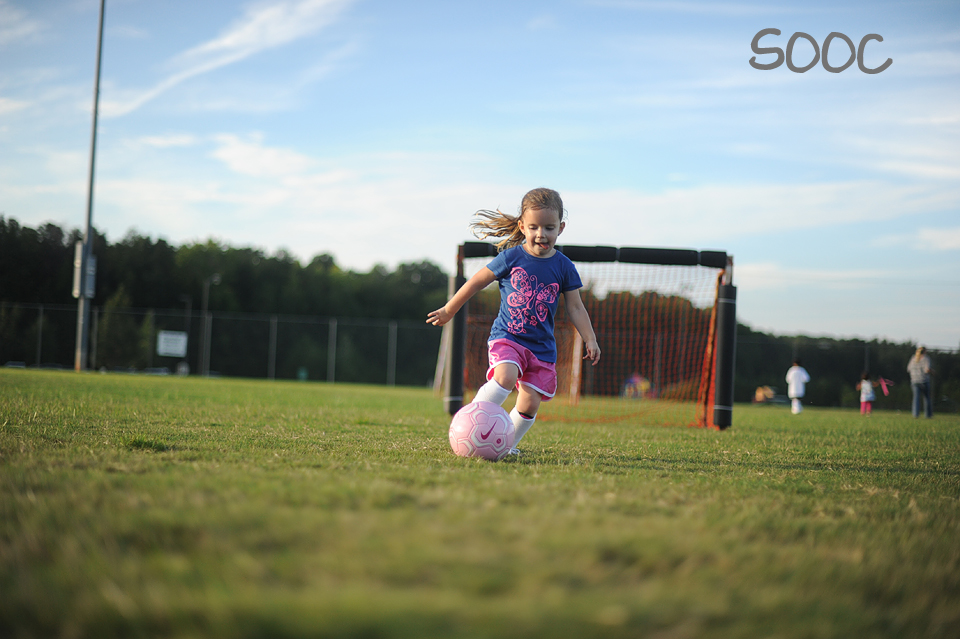
Here is my SOOC (SOOC = straight out of camera…if you didn’t know that already) image.
My settings were:
ISO: 500
SS: 8000 (dang that’s high)
f-stop: 1.4
Kelvin WB somewhere around 5500, I think.

I’m kinda wondering what I was doing here.
Rolling over?
Did I have an itch?
Was I scooting to one side to try and frame her up?
Eh…I’m not too sure, but that is one catty whompus shot, huh?
And here is my edit.

I think it probably took me 6 or 7 minutes to edit this one.
Which…that’s a long time for me. I don’t normally like to sit and clone or straighten or whatever, but then again sometimes I do like to spend a little extra time.
For this one?
I KNEW I wanted to keep it because of that look of determination and her tongue.
I straightened and cropped first.
Cloned out the people and the pole…I always do my cloning and such BEFORE any other big edits.
I worked with the levels adjustment layers (with the red/blue/green sliders) a bit to get that tone that I love so much.
I added more vignette…because I just like it.
Then I put in a teeny bit of haze and double checked in ACR to see if I’d blown any areas (because I forgot to do that at the beginning).
And there you have it. That’s how I edited this image in PSE9.
Any questions?
Shoot me a message or post it here in the comments. I’m happy to help ya’!
Beautiful! Love your edit.
I love your work! Thank You for sharing your edit process xo
Love this Before and After! Fun to see how the photogs I love, edit! I did a before & after post back in August and actually used the your Clickin Moms Black and White tutorial for my edit. 😉 Your black & whites are some of my favorites.
Hope you do more of these!
🙂
Ok, I came back to look at this before and after. How much did you adjust the red/green/blue sliders to get that look you love? And how did you add the haze in?… My curious mind wants to know 🙂 thank you!!